From invoice to your wallet
Settlematic connects fiat-denominated billing with true non-custodial settlement - each address binds to a destination you control at issuance, then we watch the chain for confirmation and reconciliation.
Definition
What is Settlematic?
Settlematic is a true non-custodial crypto finance platform for businesses. It combines two modules - Collect (invoicing and payment links) and Gateway (embeddable crypto checkout for platforms) - on one reconciliation layer.
Businesses invoice in USD or EUR, clients pay in crypto across 6 networks. Every invoice address is cryptographically bound to a destination you control before it is shown to a payer. Settlematic watches the chain for confirmation and reconciliation - we never hold private keys that can move your funds.
Six steps, one platform
Whether you bill clients or embed checkout - the same reconciliation layer tracks every on-chain movement.
- 1
Create a bill or link
Issue a fiat-denominated invoice or payment link in Collect. Choose accepted assets (ETH, BTC, SOL, USDC, USDT) and networks. Add line items, tax, and due dates - or share an open-amount link for donations and top-ups.
- 2
Share hosted checkout
Send your client a branded URL, PDF invoice, or embed. They pay without creating a Settlematic account. Custom pay domains keep checkout on your brand.
- 3
Client pays on-chain
Checkout shows a unique address bound to your wallet at issuance, plus a live quote. Payment is detected automatically across Ethereum, Polygon, BSC, Solana, Tron, and Bitcoin.
- 4
Confirm & reconcile
Invoice status updates in real time. Partial payments, network fees, and FX are tracked in one ledger - ready for accounting exports. Every confirmation attaches a tx hash to the invoice.
- 5
Funds land in your wallets
Payment settles to destinations cryptographically fixed when the address was issued - cold storage, operating wallets, or split destinations you configure. Settlematic cannot redirect an issued address or hold funds in transit.
- 6
Pay out or report
Use Gateway for platform merchants and CSV or API exports for tax and compliance workflows.
Two products, one flow
Start with Collect or Gateway today. Use both when your crypto operations need invoicing and checkout together.
Collect
Single-merchant invoicing, payment links, recurring billing, and branded checkout for agencies and SaaS teams.
Gateway
Multi-merchant payment processing with hosted checkout, embeds, webhooks, and merchant onboarding for platforms.
End-to-end flow
Invoice → payment → wallet → ledger
Collect
Bill in fiat, settle in crypto
Create professional invoices and payment links denominated in USD or EUR. Clients choose their preferred asset and chain at checkout. You receive real-time confirmation; funds settle to destinations bound to each invoice address at issuance.
Explore Collect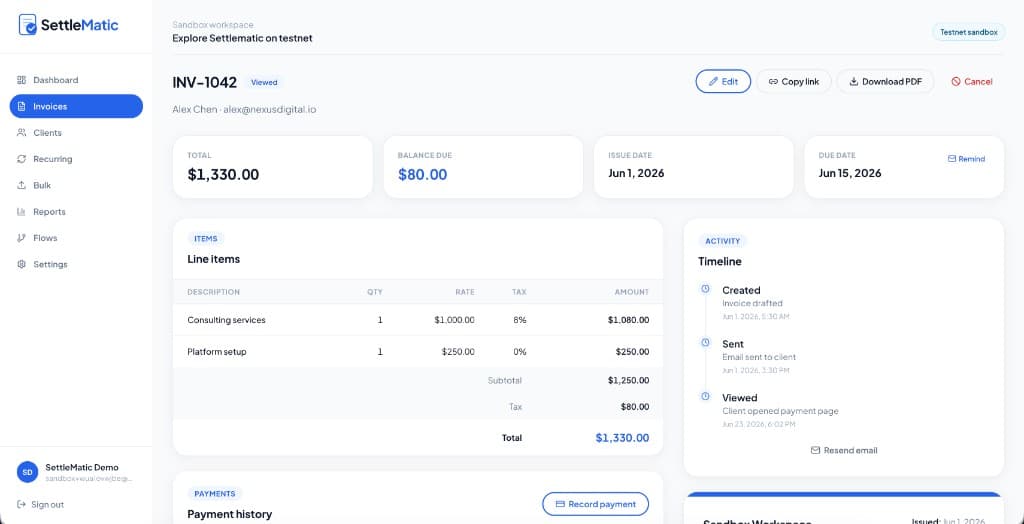
Gateway
Embed payments in your product
Onboard merchants, issue checkout sessions, and receive signed webhooks when payments land. Gateway is built for marketplaces, SaaS platforms, and fintech apps that need multi-merchant rails.
Explore GatewayConfirmation time depends on the network. Settlematic detects payments in real time and updates invoice status as soon as the transaction meets your configured confirmation threshold.
See it in a live sandbox
Spin up a 15-minute testnet workspace with sample invoices and payments.